How to Deposit
The resources in the CLARIN.SI repository are deposited by the authors. Each item has to be provided with complete and correct metadata, the data need to be in well-documented and in open formats, accepted in their respective communities, IPR issues have to be resolved, and clear statements with regard to licensing and possible use of the resources must be made. The depositor is required to electronically sign the deposition agreement acknowledging the (s)he is the holder of rights to the data and that (s)he has the right to grant the rights contained in this licence.
Once an item is submitted, it undergoes an editorial review to ensure it meets the requirements of the CLARIN.SI repository. Please carefully read the following guidelines, in order not to have your submission needlessly rejected. If you still have questions about the resource to be submitted, please get in touch with the repository Help Desk
The guide below describes how to enter the metadata for new submissions. How the actual data (i.e. language resource) should be submitted is explained in the CLARIN.SI guidelines for data submissions, while how to deposit a new version of a resource is explained in Submitting a new version of an Item.
Contents
- Login
- Starting a new submission
- Saving or sharing your submission
- The permanent identifier
- Screen 1: Basic information about the submission
- Screen 2: Who is involved in the submission?
- Screen 3: Description of the resource
- Screen 4: Uploading files
- Screen 5: Selecting the Licence
- Screen 6: Leaving a note
- Screen 7: Reviewing and submitting
Login
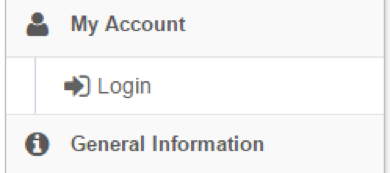
To start a new submission you have to login first. Click Login under My Account in the right menu panel.
Starting a new submission
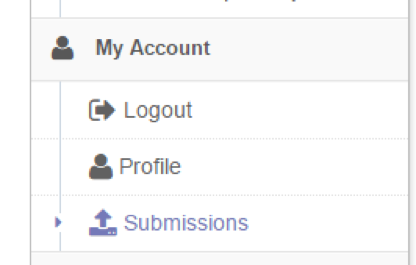
Now you have a new menu item "Submissions" under "My Account". Click on "Submissions" to go to the Submissions screen.
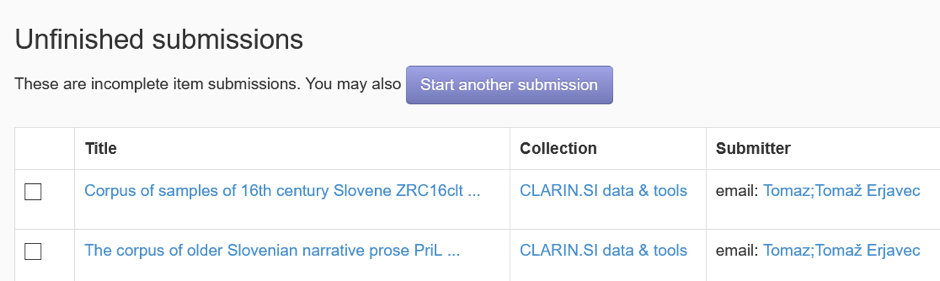
You should now be on the main Submission and Workflow tasks page where you can view your incomplete/archive submissions, if any. Click on the "Start another submission" link to start a new Submission.
Saving or sharing your submission

After you have entered the information on a screen (detailed below), you can click "Save & Exit" at the bottom of the screen to save the partially filled-out submission and continue working on it later. Another option is to "Save & Share", where you will get a URL token on the screen and via email. If you send this token to somebody else, they will be able, after logging in, to continue working on the submission. This is a good way to give several authors access to the submission in order to check it or input the data.
The permanent identifier
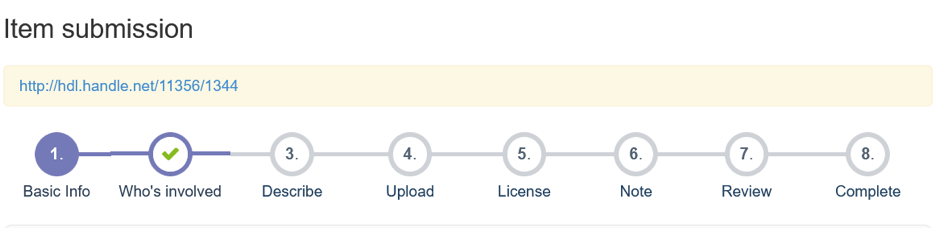
Screen 1: Basic information about the submission
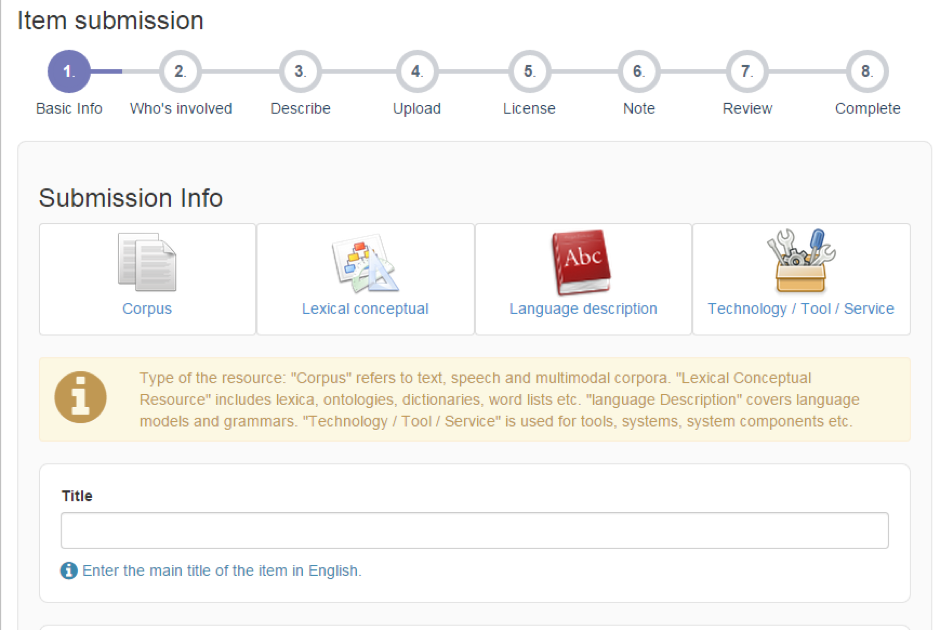
You have initiated a new submission. In the next steps, you will provide the details about the item (i.e. its metadata) and upload content files. First, select the type of the resource you are about to submit.
Click on the type button that best fits your resource, and then proceed with filling the basic information of your resource.
The title of the resource
The title should give a very short description of the resource, followed by its proper name, which is usually an acronym. If there is a chance that further versions of the resources will be submitted, the major and minor version should come at the end; as the entry is a new resource, this will typically be "1.0". Except for the first word, the acronym, and the names of languages or other proper nouns, the words in the title should not be capitalised. Some examples from the CLARIN.SI repository:
- Automatically sentiment annotated Slovenian news corpus AutoSentiNews 1.0
- Concreteness and imageability lexicon MEGA.HR-Crossling
- Dictionary of Slovenian Particles
References
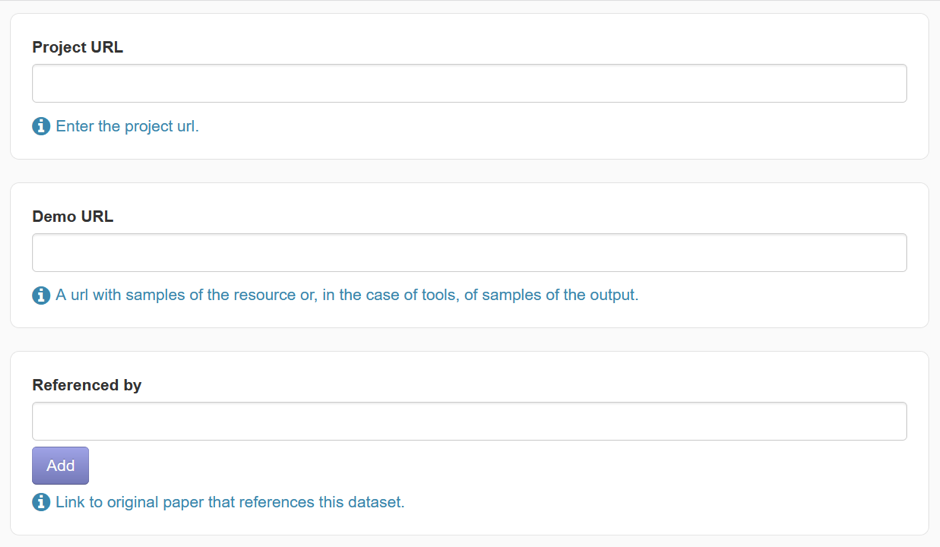
Next come reference fields (Project URL, Demo URL, Referenced by) in which you should enter URLs for those facets that exist for the entry
- The "Project URL" gives the URL of the project in the scope of which the resource was produced
- The "Demo URL" gives the URL of the web application where the resource is available for browsing, reading or analysis. For example, a deposited corpus might be also available in a digital library, a machine-readable dictionary on a dictionary portal, and a computer program as an API.
- The "Referenced by" gives the URLs of any publications that reference the dataset. If a publication has a DOI URL, this is the one that should be used
Date issued
Screen 2: Who is involved in the submission
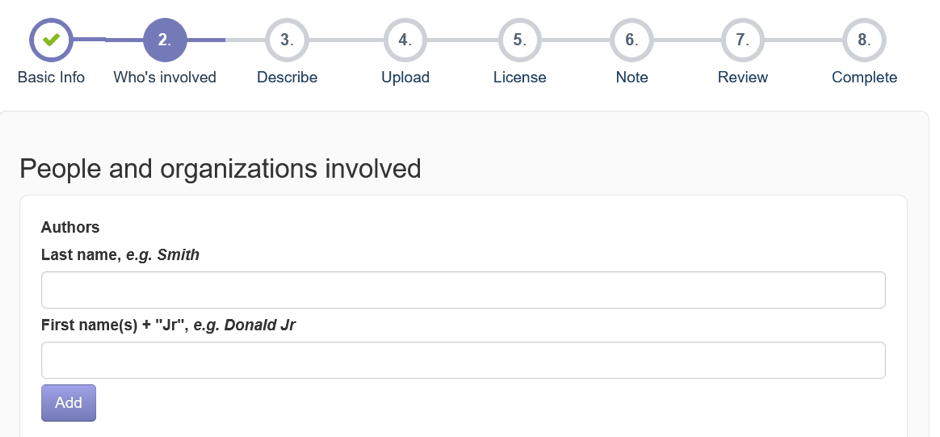
The next screen contains fields for the people, organization and projects, involved in the production of the resource.
Contact person for the resource

Next you must give the name, email and institution of the contact person for this item. The contact person is typically, but not necessarily, the person submitting the item. It is possible to give more than one contact person.
Funding projects
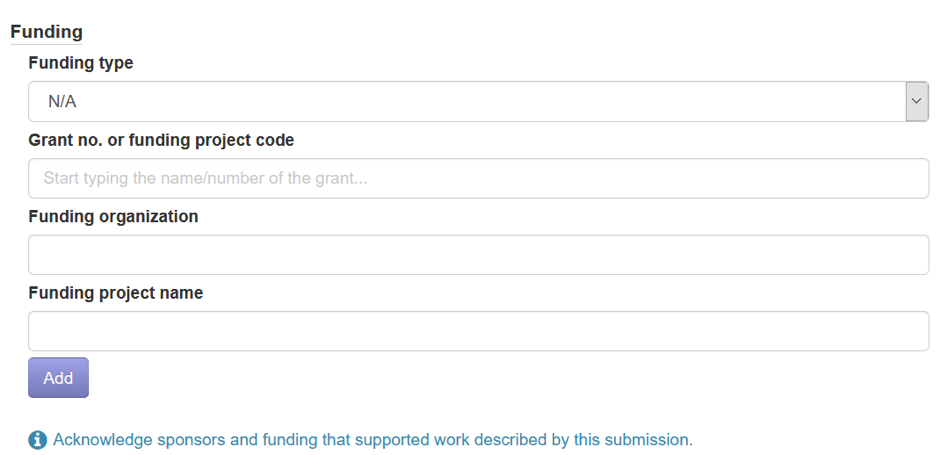
Last on this screen come the acknowledgements of the projects that funded the creation of the resource. First choose the Funding type, then the project code, funding organisation and the name of the project. Of course, there can be more than one project that funded the creation of the resource.
Here are some examples from existing entries:
- EC 610704 "SIMPOL"
- Ministry of Culture C3340-20-278001 "Development of Slovene in a Digital Environment"
- ARRS (Slovenian Research Agency) P2-103 "Knowledge Technologies"
Once you have entered all the information on the second screen, click "Next" to continue the following step.
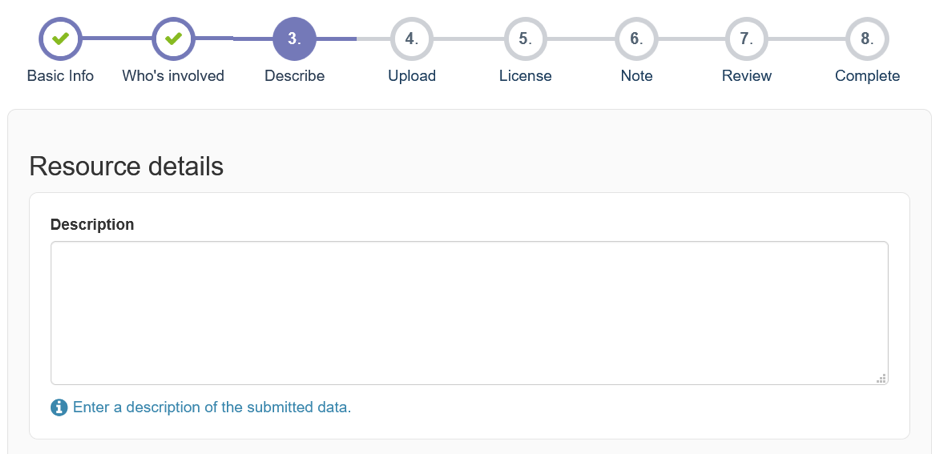
Screen 3: Description of the resource
The information entered on this screen describes the resource and is very important for all those that would like to find and use your resource.
Description
The resource description should be about half a page in length, and should describe the resource in terms of what it contains, approximate size, and basic structure of the data. Where relevant, it should give the envisioned use of the resource. For corpora, the description should also give their temporal coverage, e.g. "The corpus contains newspaper articles from 2001 to 2019". If there are bibliographic items that you would wish to mention, this is also the place to cite them. It is also possible to give URLs to pages that describe various aspects of the resource, e.g. the tagset used, or to which other resource the one being submitted is related to etc. Note that if a resource is a new version of an already existing resource, the description should give, in the last paragraph, a brief overview of the difference between the two versions.
Click on the handles below to see some examples of resource descriptions:
- Slovenian parliamentary corpus SlovParl 2.0.
- Spoken corpus Gos VideoLectures 4.0 (audio).
- Morphological lexicon Sloleks 2.0.
- Dictionary of the Slovenian Normative Guide (2001).
- The CLASSLA-StanfordNLP model for morphosyntactic annotation of standard Macedonian 1.0.
- Dependency tree extraction tool STARK 1.0
Language
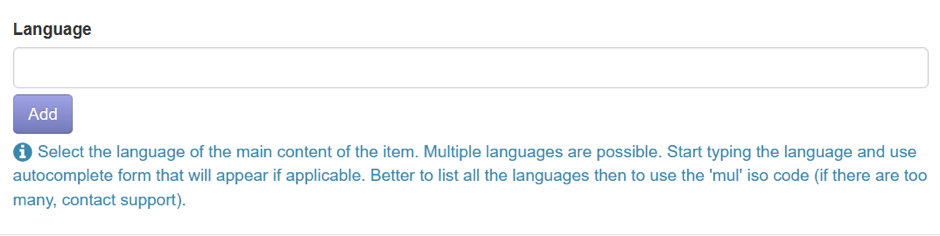
In this field you should enter the language(s) that your resource contains data for. Start typing the language and use autocomplete form that will appear. You can also Browse the CLARIN.SI repository by language.
Keywords
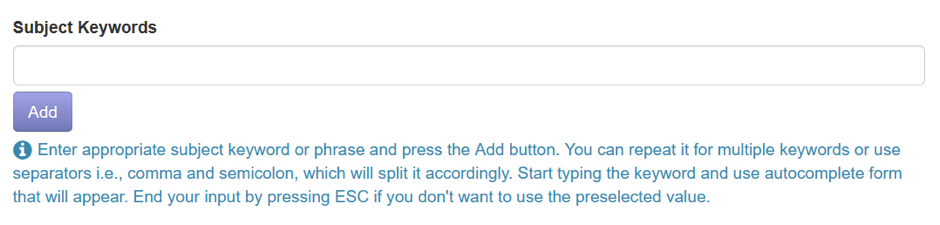
At least one keyword should be entered here, but more are better. It is possible to see the list of all existing keywords by browsing the repository by Subjects
Size
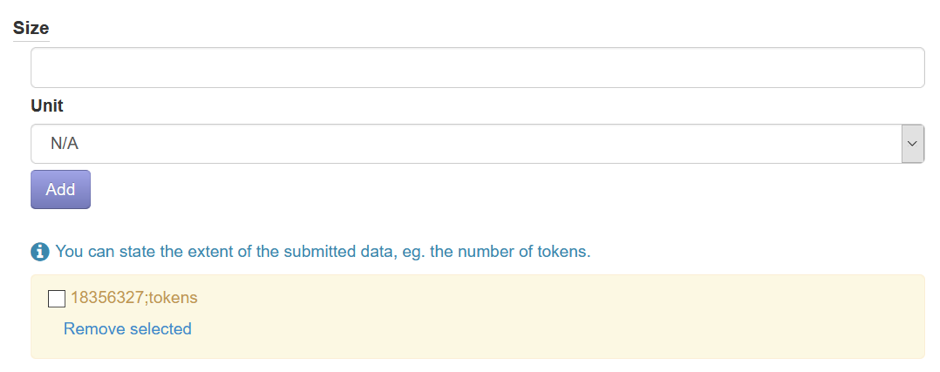
The size of the resource should be given in as many sensible categories as possible.
Media type

Here, a more precise category of the resource should be selected from the drop-down menu.
Once you filled the necessary information, click Next to upload the data files in the next step.
Screen 4: Uploading files
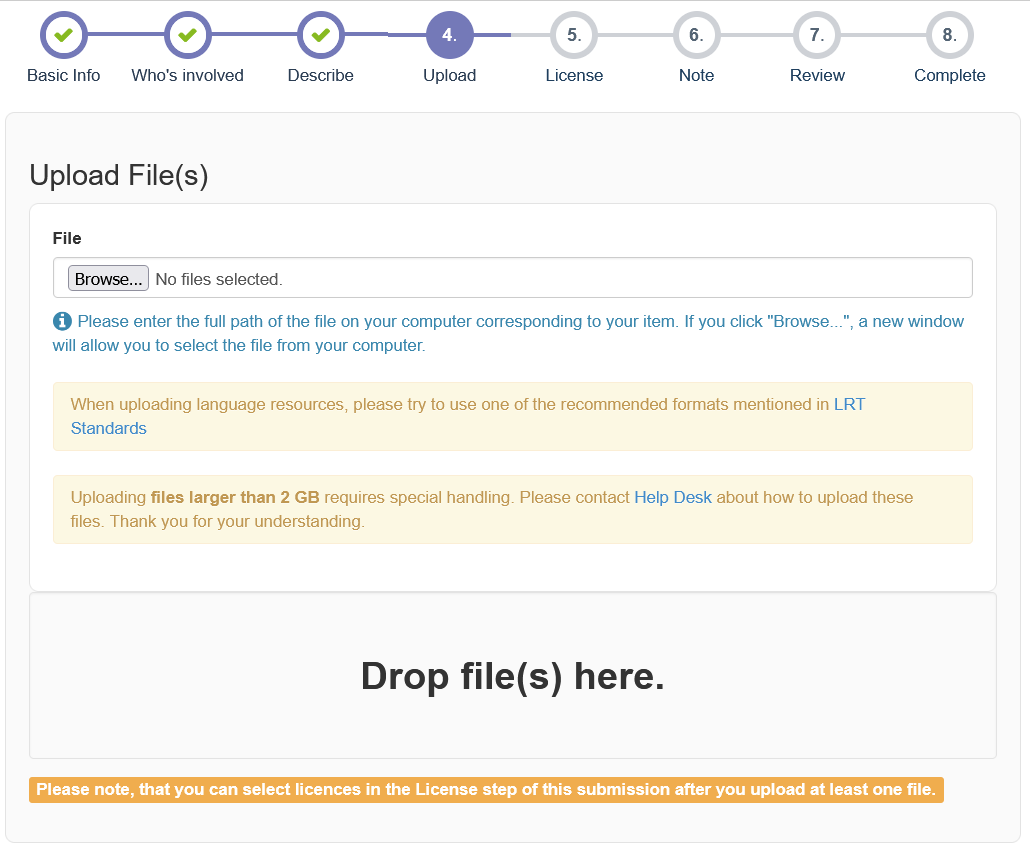
In this step, you will upload the content files of your submission.
A file can be added by clicking the browse button and selecting it from your computer, or you can directly drag and drop files in the grey area with text "Drag and Drop file(s) here", or you can upload a file from a URL. Selecting files will open a dialog box, where you should enter a short description of each file. To begin the file upload, click "Start Upload".
Uploading files larger than 2 GB requires special handling. Please contact Help Desk about how to upload such files.
Once the file(s) upload is done, press OK to close the dialog box. You can add more files, delete the already uploaded ones, or change their description or order of appearance. After you finish, press "Next" to continue with the License selection.
Screen 5: Selecting the License
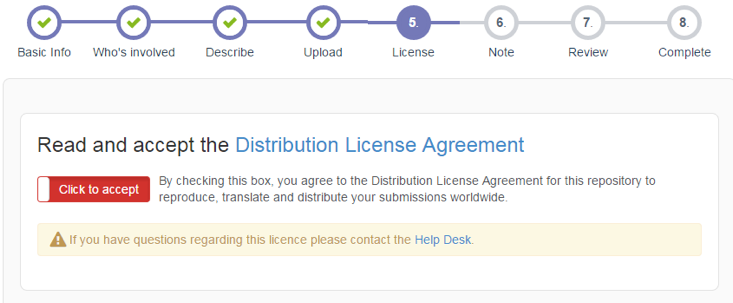
After uploading the files, you must select a license under which you want your resources to be distributed.
Please read the Distribution agreement carefully carefully and click the red box to indicate your agreement (it will turn green).
Next comes the selecting of the appropriate licence for the data.
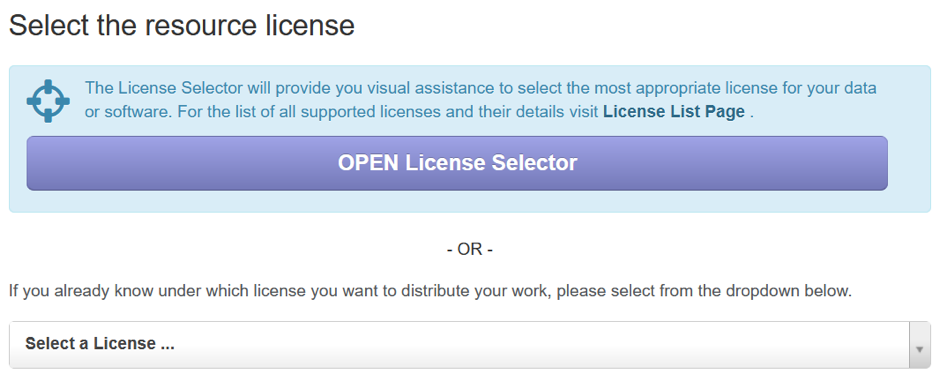
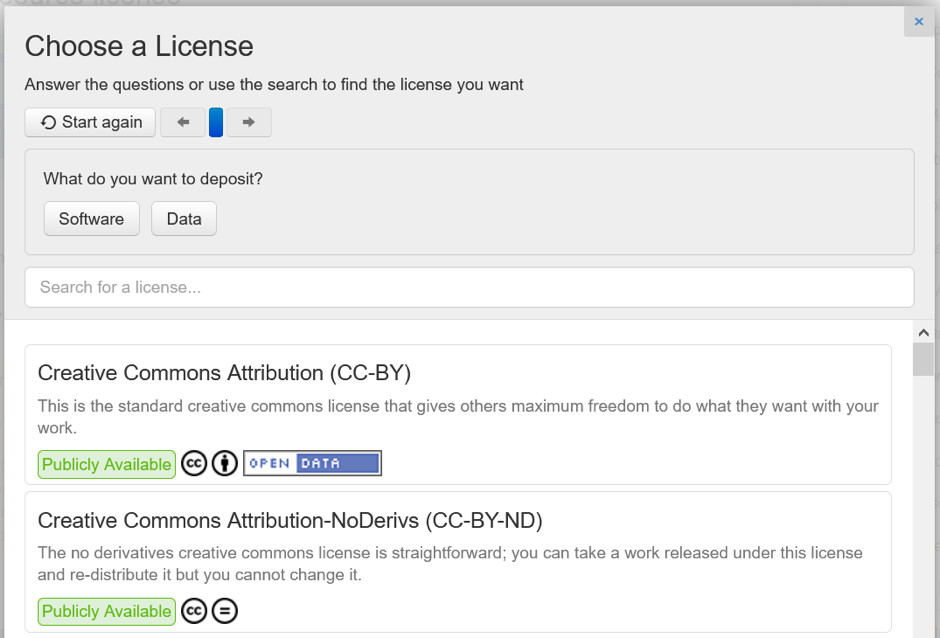
The interface offers two ways by which to choose a licence. The first is the "OPEN Licence Selector", which helps in choosing the appropriate licence by asking questions about the submission and your requirements.
The second way is choosing the licence from the drop-down list under "Select a license", where you can also type in some words from the required licence to narrow the selection. You can also browse the page with CLARIN.SI Available Licenses. If none of the licenses suits your needs, contact our Help Desk.
Datasets that require license signing
While CLARIN.SI prefers open data and open source software, we understand this is not always possible. We can ensure that users must authenticate and sign a license in order to download your data (see Restricted Submissions ). If you need more information about the users than the fact that they authenticated via their home institution, we can ask for some specific attributes similar to standard web forms. This makes sense mostly for data with "no redistribution" clause in their license.
Screen 6: Leaving a note
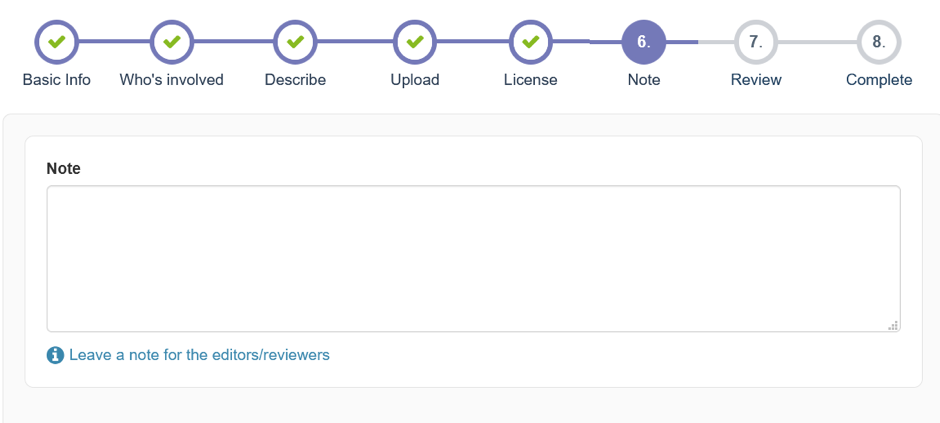
If you have extra information about the entry that you want to bring to the attention of the editors, you should leave a note for the reviewer in this step.
Screen 7: Reviewing and submitting
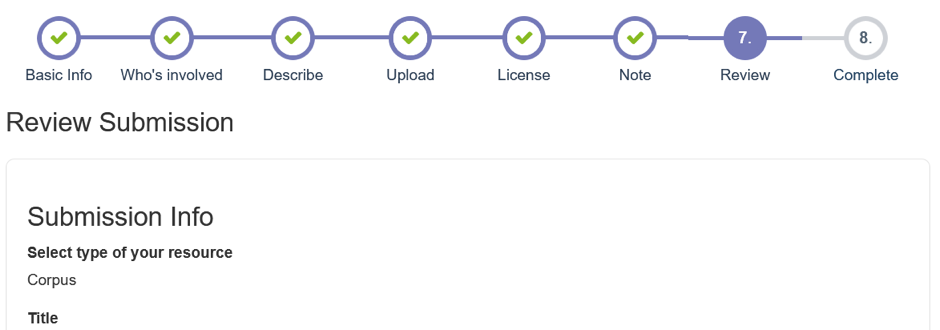
In this step, you will review your submission and submit it. The review page contains a sub-review panel for each of the step you have filled in before. If you want to change any field in a particular step, click "Correct one of these" and it will take you directly to the particular screen. Once you verify all the details, submission can be made by clicking "Complete Submission".
Once you click the "Complete Submission" in the review step, item will be submitted for the reviewing by the editors. Once the editors approve the item, it will appear in the repository. In case of problems with the submission, the editors will reject it, and explain why and what needs to be corrected in order to make the submission acceptable.